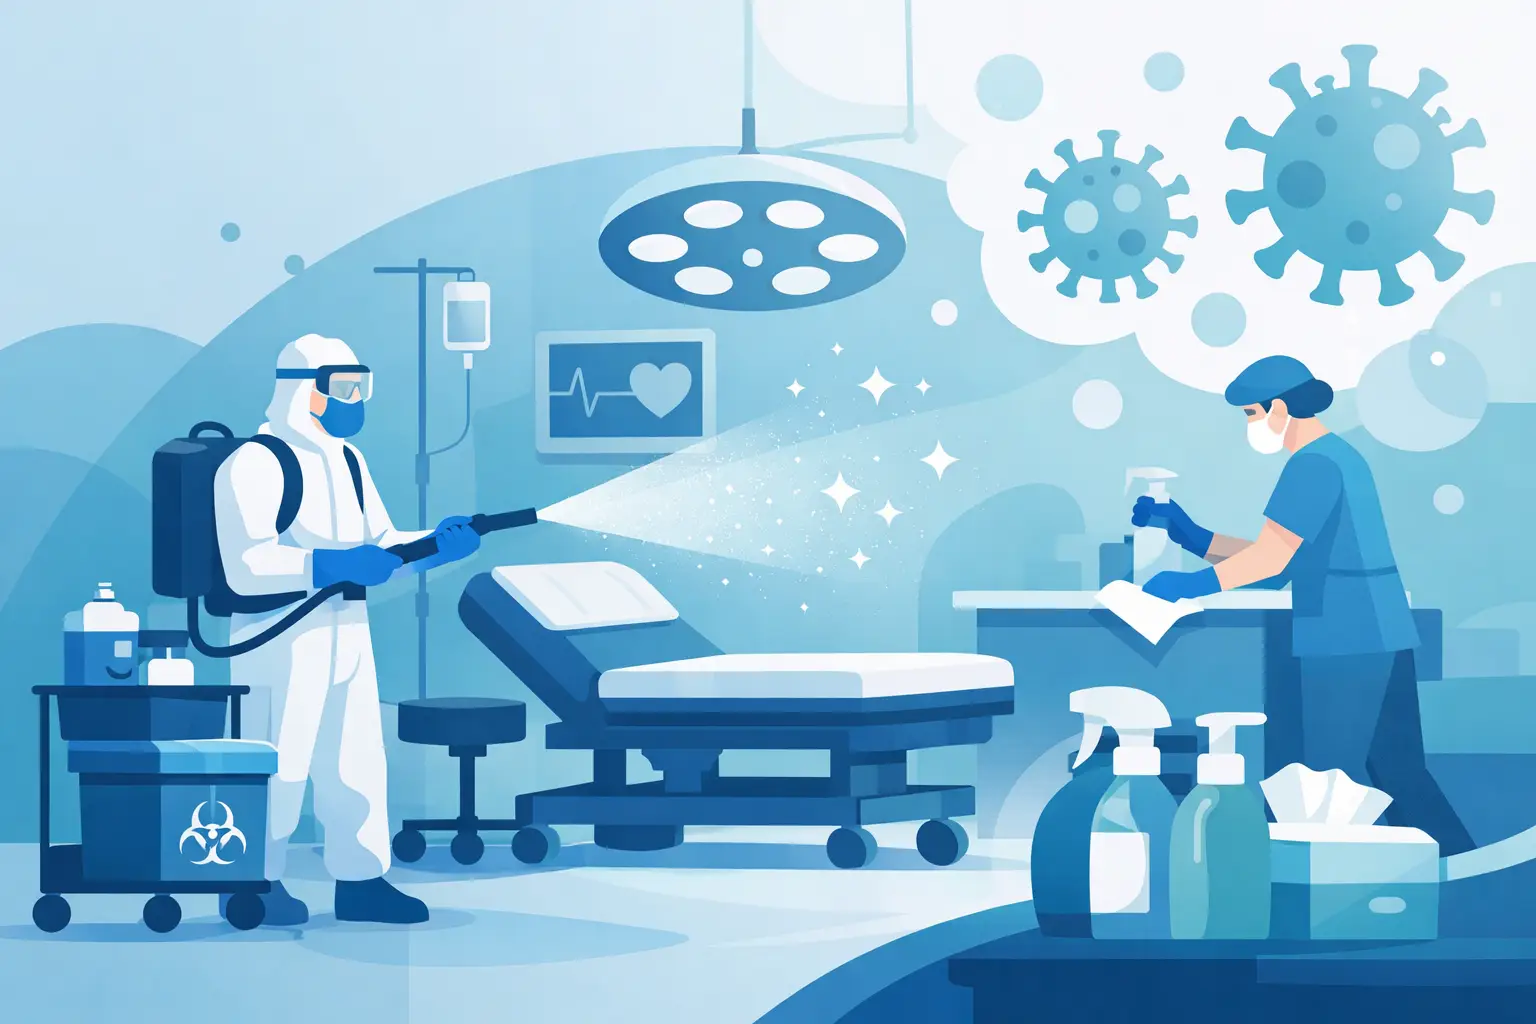

A clinic can look clean and still have missed contamination points. The exam room that turns over quickly, the reception counter used by every visitor, and the staff washroom all require more than a standard wipe-down. The best disinfecting process for clinics is a planned system that matches cleaning methods, disinfectant products, contact times, and schedules to how the facility actually operates.
For clinic managers and administrators, the objective is not to make broad claims about a germ-free space. It is to reduce avoidable cross-contamination, maintain a professional environment for patients and staff, and ensure that cleaning work is completed consistently without interrupting care.
What the Best Disinfecting Process for Clinics Requires
An effective program begins by separating cleaning from disinfecting. Cleaning removes visible soil, dust, spills, and organic material from a surface. Disinfecting uses an appropriate product to reduce microorganisms on a surface after it has been cleaned. Skipping the first step can make the second less effective, particularly on examination tables, counters, bathroom fixtures, and high-touch equipment.
The right process also recognizes that not every area needs the same level of attention. A private administrative office has a different risk profile than a waiting room, laboratory collection area, treatment room, or washroom. Facilities that apply one schedule and one product to every surface often either under-service patient-facing areas or spend unnecessary time on low-risk spaces.
A clinic disinfection plan should account for patient volume, services provided, room turnover, surface materials, staff workflows, and the facility’s infection-control policies. Dental offices, walk-in clinics, physiotherapy practices, and specialty treatment centers will each have different requirements. The cleaning provider’s work should support, not replace, clinical protocols performed by healthcare staff between patients.
Start With a Facility-Specific Risk Assessment
Before setting a schedule, walk the site during normal operating conditions. This identifies where people touch surfaces, where queues form, which rooms see the fastest turnover, and where spills or soil are most likely to occur. It also prevents an after-hours team from being asked to make assumptions about the priorities of a clinical environment.
Reception areas commonly require focused service on door handles, check-in counters, payment terminals, seating arms, clipboards, pens, elevator buttons, and shared touchscreens. In clinical rooms, priorities may include noncritical environmental surfaces such as exam tables, light switches, handles, countertops, cabinet pulls, and chair arms. Staff break rooms and washrooms need their own defined routine because they are frequent points of contact throughout the day.
The assessment should also identify surfaces that require special care. Electronics, upholstered seating, sensitive equipment, natural stone, and certain plastics may be damaged by incompatible disinfectants or excessive moisture. Product selection must follow both the disinfectant label and the equipment manufacturer’s cleaning instructions. More chemical is not better when it shortens the life of expensive clinical furnishings or leaves irritating residue behind.
Use the Correct Sequence Every Time
Reliable disinfection is built on repeatable steps. The sequence matters because it reduces cross-contamination and helps staff work efficiently from cleaner areas toward dirtier ones.
1. Prepare the area and protect staff
Cleaning personnel should arrive with the supplies, personal protective equipment, and color-coded tools assigned to the task. Fresh gloves may be required when moving between washrooms, patient areas, and general spaces. Cleaning cloths and mop heads should not move freely from one room type to another.
Any visibly contaminated area, body-fluid spill, or sharps concern needs a defined escalation procedure. Janitorial staff should never handle clinical waste or sharps outside the scope of their training and the facility’s policy. These situations require prompt notification to the appropriate onsite personnel and safe isolation of the area when necessary.
2. Remove soil before applying disinfectant
Use a detergent or cleaner to remove dust, fingerprints, residue, and visible soil. Pay attention to edges, undersides of handles, chair arms, and areas around dispensers, where residue is often missed. A surface that looks clean may still need disinfection, but a visibly dirty surface should be cleaned first.
For larger spaces, work in a consistent pattern. This could mean moving clockwise around a room, beginning with high surfaces and working downward, or servicing the farthest point first and finishing at the exit. Consistency makes quality checks easier and reduces the chance that a surface is skipped during a busy shift.
3. Apply an approved disinfectant at the required concentration
Use a disinfectant that is approved for the facility’s jurisdiction and appropriate for the intended surface and target organisms. The product label is the operating instruction, not a suggestion. It specifies dilution, application method, compatibility, safety precautions, and the required contact time.
Avoid mixing chemicals unless the manufacturer expressly directs it. Combining products can create hazardous fumes, reduce effectiveness, or damage surfaces. Diluted products should be prepared accurately, labeled clearly, and stored safely away from patient-accessible areas.
4. Respect dwell time
Dwell time, also called contact time, is the period a disinfectant must remain visibly wet on a surface to work as intended. A common failure is spraying a surface and immediately wiping it dry. That may remove dirt, but it can cut short the disinfection process.
This is where product choice affects daily operations. Some products have a shorter contact time and may be better suited for high-turnover areas, while others require longer wet time but may offer advantages for particular applications. The best choice depends on the clinic’s schedule, surface types, ventilation, and infection-control requirements.
5. Change tools and prevent recontamination
A cloth that has cleaned a washroom should not be used on an exam room counter. Mop water that has become visibly soiled should be changed rather than carried through the facility. Reusable tools need a documented laundering or decontamination process after service.
Color-coded microfiber systems are useful when they are consistently followed. They give staff a clear visual system for separating restroom work, general areas, and patient-facing spaces. The system only works when enough clean replacement materials are available for every shift.
Schedule Work Around Patient Flow
After-hours service is often the best time for comprehensive cleaning and disinfection of reception spaces, washrooms, staff areas, floors, and noncritical environmental surfaces. It allows the team to work thoroughly without creating obstacles for patients or interrupting appointments.
However, an after-hours schedule alone may not cover the full need. High-volume clinics may benefit from daytime support for reception touchpoints, washroom restocking, spill response, and common-area disinfection. A clinic with frequent room turnover may require staff-led between-patient disinfection alongside the commercial cleaning program. The division of responsibilities should be clear so that essential tasks do not fall between teams.
A practical schedule often includes daily comprehensive service, frequent attention to high-touch public surfaces during operating hours, and periodic detail work for vents, baseboards, upholstery, interior glass, and low-touch areas. During respiratory illness season or a local outbreak, the plan may need temporary adjustments based on clinic policy and public health guidance.
Document the Work and Verify Quality
A disinfection program is easier to manage when expectations are visible. Room-specific checklists, task frequencies, product instructions, and escalation contacts give cleaning staff a reliable reference. They also help clinic managers confirm that service aligns with agreed priorities.
Documentation does not need to create unnecessary paperwork. It should capture what matters: dates and times of service, areas completed, supply issues, incidents, and tasks requiring follow-up. Periodic inspections are equally valuable. A supervisor should check for practical indicators such as residue on touchpoints, missed corners, empty dispensers, odor issues, and inconsistent restroom condition.
When standards are not being met, the response should be specific. Instead of reporting that an area was not cleaned well, identify the room, surface, issue, and expected correction. This allows a professional cleaning partner to retrain staff, adjust the scope, or revise the schedule before a recurring problem becomes a patient experience issue.
Choose Training and Reliability Over Generic Service
Clinics need more than a general cleaning crew with a standard checklist. Staff should understand safe chemical handling, cross-contamination controls, privacy expectations, spill reporting, and the boundaries between environmental cleaning and clinical duties. They also need reliable access procedures, clear communication with onsite contacts, and insurance appropriate to commercial work.
Pristine Maintenance and Services builds clinic cleaning programs around these operational details, including flexible scheduling that supports patient care without disrupting daily activity. The strongest service relationship is one where the cleaning plan can change as patient traffic, clinic hours, or facility needs change.
A well-run clinic disinfection program is felt before it is noticed. Patients encounter orderly reception areas, clean touchpoints, stocked washrooms, and treatment spaces that support confidence in the care being provided. That standard comes from disciplined daily execution, not a one-time deep clean.

0 Comments